


Underglaze Pencil
This colored pencil set comes with a case containing 12 colors, a filer for erasing, and a knife for sharpening the pencils.( If you buy single colored pencils, it doesn’t come with filer and knife)
Prepare the Bisqued Ware:
Before using the underglaze pencil, make sure your bisque-fired ceramics are clean. Wipe the surface with a damp sponge or cloth, ensuring that the piece is damp but not wet. This helps the underglaze adhere better to the surface.
Underglaze Pencils:
Underglaze pencils has 12 colors as a set. However, you can buy single colors. Black, blue ,green and red are available.Note on the Texture of the Pencil:
Since underglaze is made from pigments mixed with clay (mud), it is softer than regular pencils and may break more easily. Underglaze pencils are not as hard as traditional pencils, so be mindful when using them.Sharpening the Pencil:
Avoid using a pencil sharpener because it may damage the pencil due to its soft texture. Instead, always use a craft knife or razor blade to carefully cut the pencil to a sharp point. This ensures precision without damaging the tip.Application:
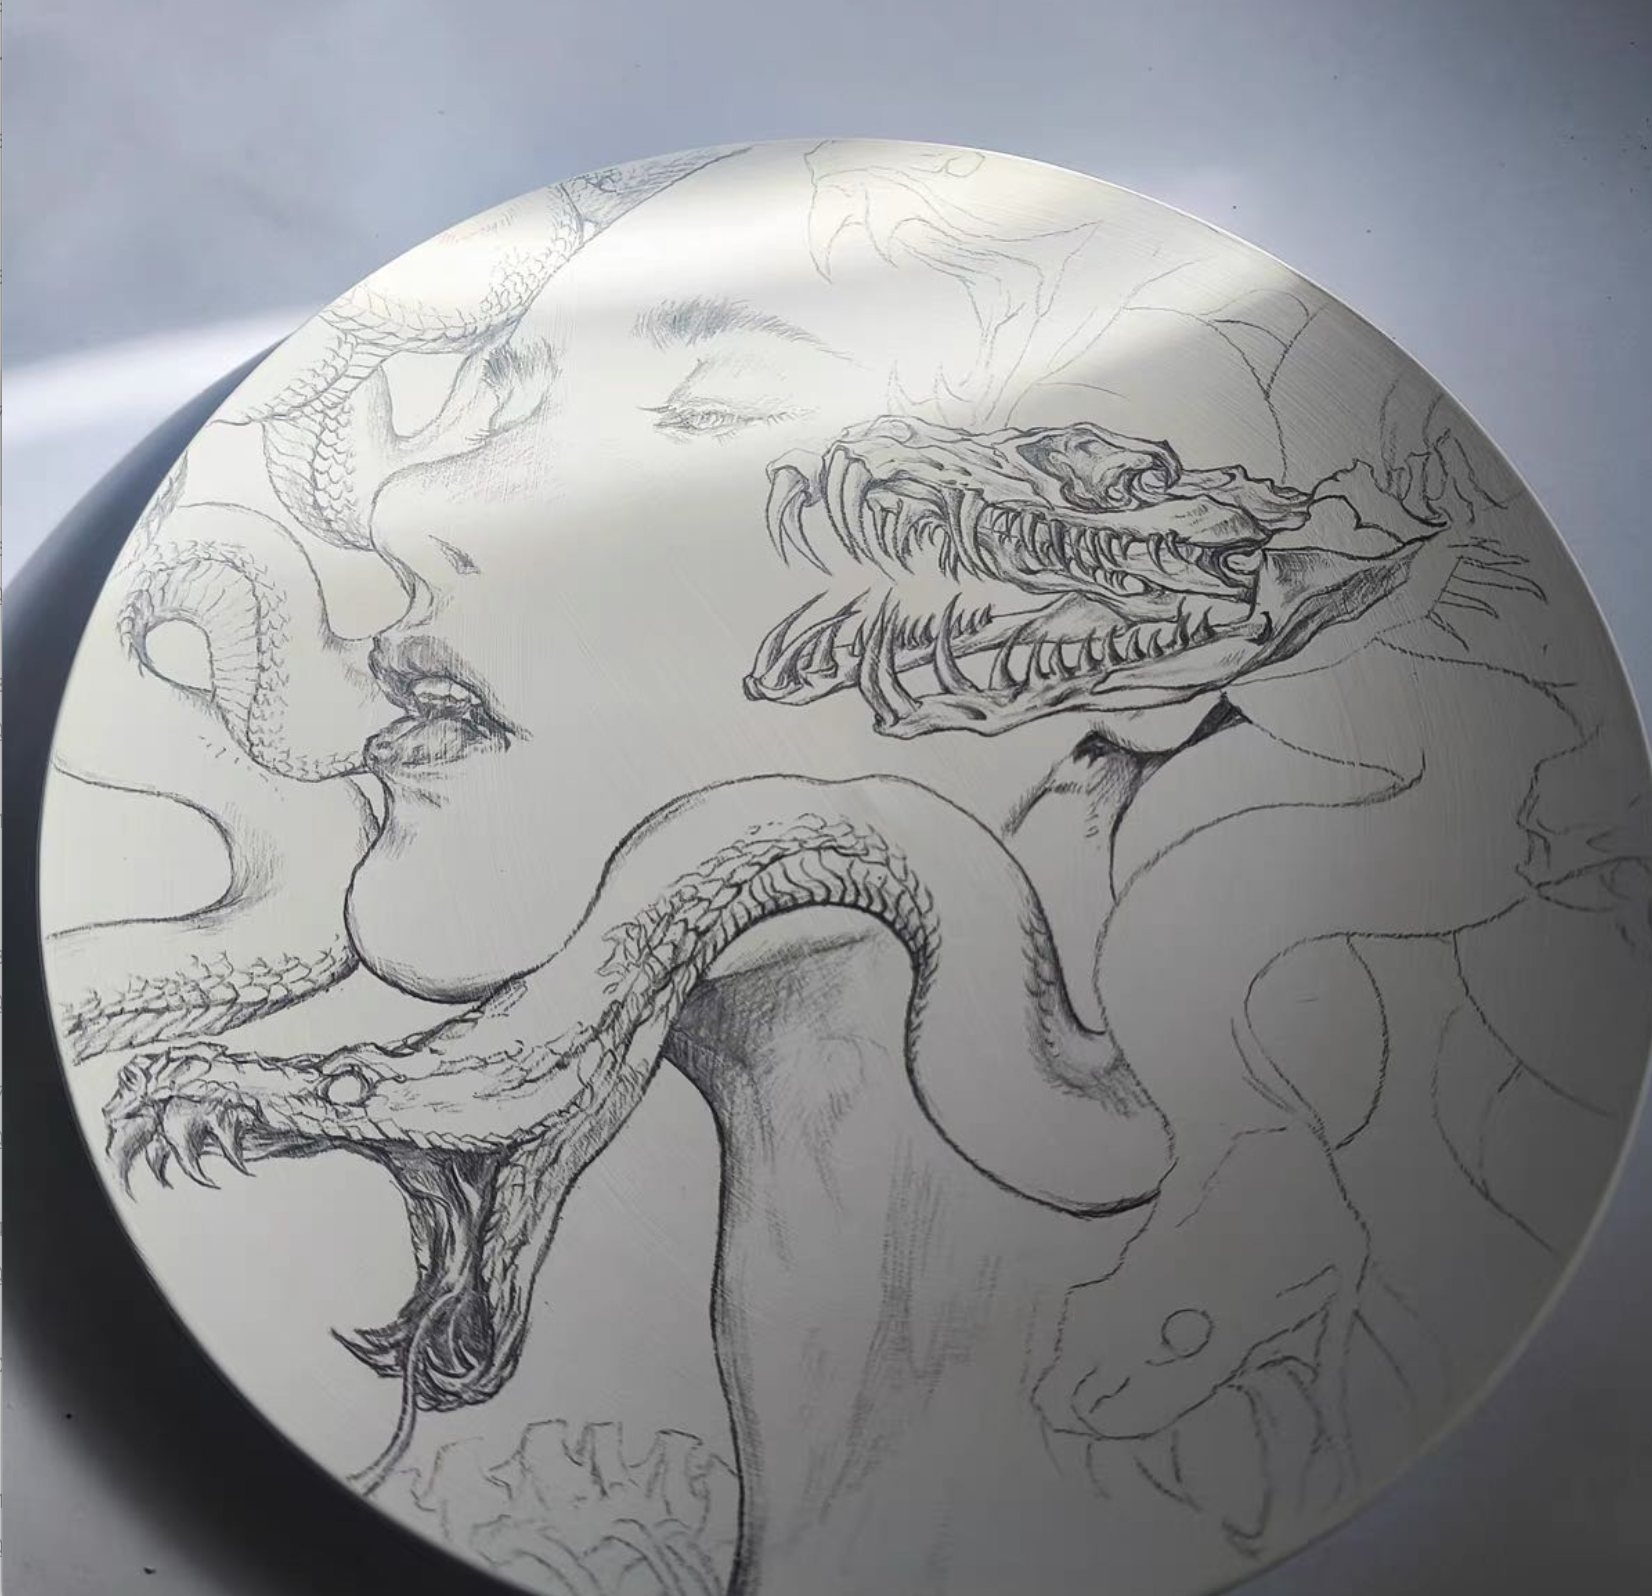
Once the underglaze pencil is properly prepared, you can begin drawing on the damp bisque surface. Be sure to work gently and avoid pressing too hard to prevent breaking the pencil.
Additional Tips:
If you want more vibrant colors, you can layer the underglaze and then apply a clear glaze over the top after firing.
Always test the underglaze on a sample piece before applying it to your main project to see how the colors turn out after firing.
This colored pencil set comes with a case containing 12 colors, a filer for erasing, and a knife for sharpening the pencils.( If you buy single colored pencils, it doesn’t come with filer and knife)
Prepare the Bisqued Ware:
Before using the underglaze pencil, make sure your bisque-fired ceramics are clean. Wipe the surface with a damp sponge or cloth, ensuring that the piece is damp but not wet. This helps the underglaze adhere better to the surface.
Underglaze Pencils:
Underglaze pencils has 12 colors as a set. However, you can buy single colors. Black, blue ,green and red are available.Note on the Texture of the Pencil:
Since underglaze is made from pigments mixed with clay (mud), it is softer than regular pencils and may break more easily. Underglaze pencils are not as hard as traditional pencils, so be mindful when using them.Sharpening the Pencil:
Avoid using a pencil sharpener because it may damage the pencil due to its soft texture. Instead, always use a craft knife or razor blade to carefully cut the pencil to a sharp point. This ensures precision without damaging the tip.Application:
Once the underglaze pencil is properly prepared, you can begin drawing on the damp bisque surface. Be sure to work gently and avoid pressing too hard to prevent breaking the pencil.
Additional Tips:
If you want more vibrant colors, you can layer the underglaze and then apply a clear glaze over the top after firing.
Always test the underglaze on a sample piece before applying it to your main project to see how the colors turn out after firing.